 Jump to content


Gamble

-
Posts
16 -
Joined
-
Last visited
-
Hello, I am a total parkour noob, but some day I would like to become one of the best parkourists in the game. I know I probably won't ever join your club, and, if ever, it will be in years. Nonetheless, I would be honoured to meet one of you and talk about parkour tricks... Is that possible? Thank you, Alexander
-
I am in this club! :D
-
Can my guide to tandem be very long, like several thousand words? If I do this, will I have a lower chance of winning? Also, how do I join the AWC community?
-
Thank you! :)
-
You don't understand... I am very happy I won 3rd place, but I never recieved the reward! It is on a noob corporal account that I don't play on...
-
won third place in the competition but you gave the prize to the wrong account! You gave it to my lower account, which is spelled Alexander with an L, but if you copy and paste this account you will see it is spelled with an I instead of a lower case L... Please, can you remove the prize from the lower account and give it to the account I posted my article with??? Thank you, AIexander_Crete
-
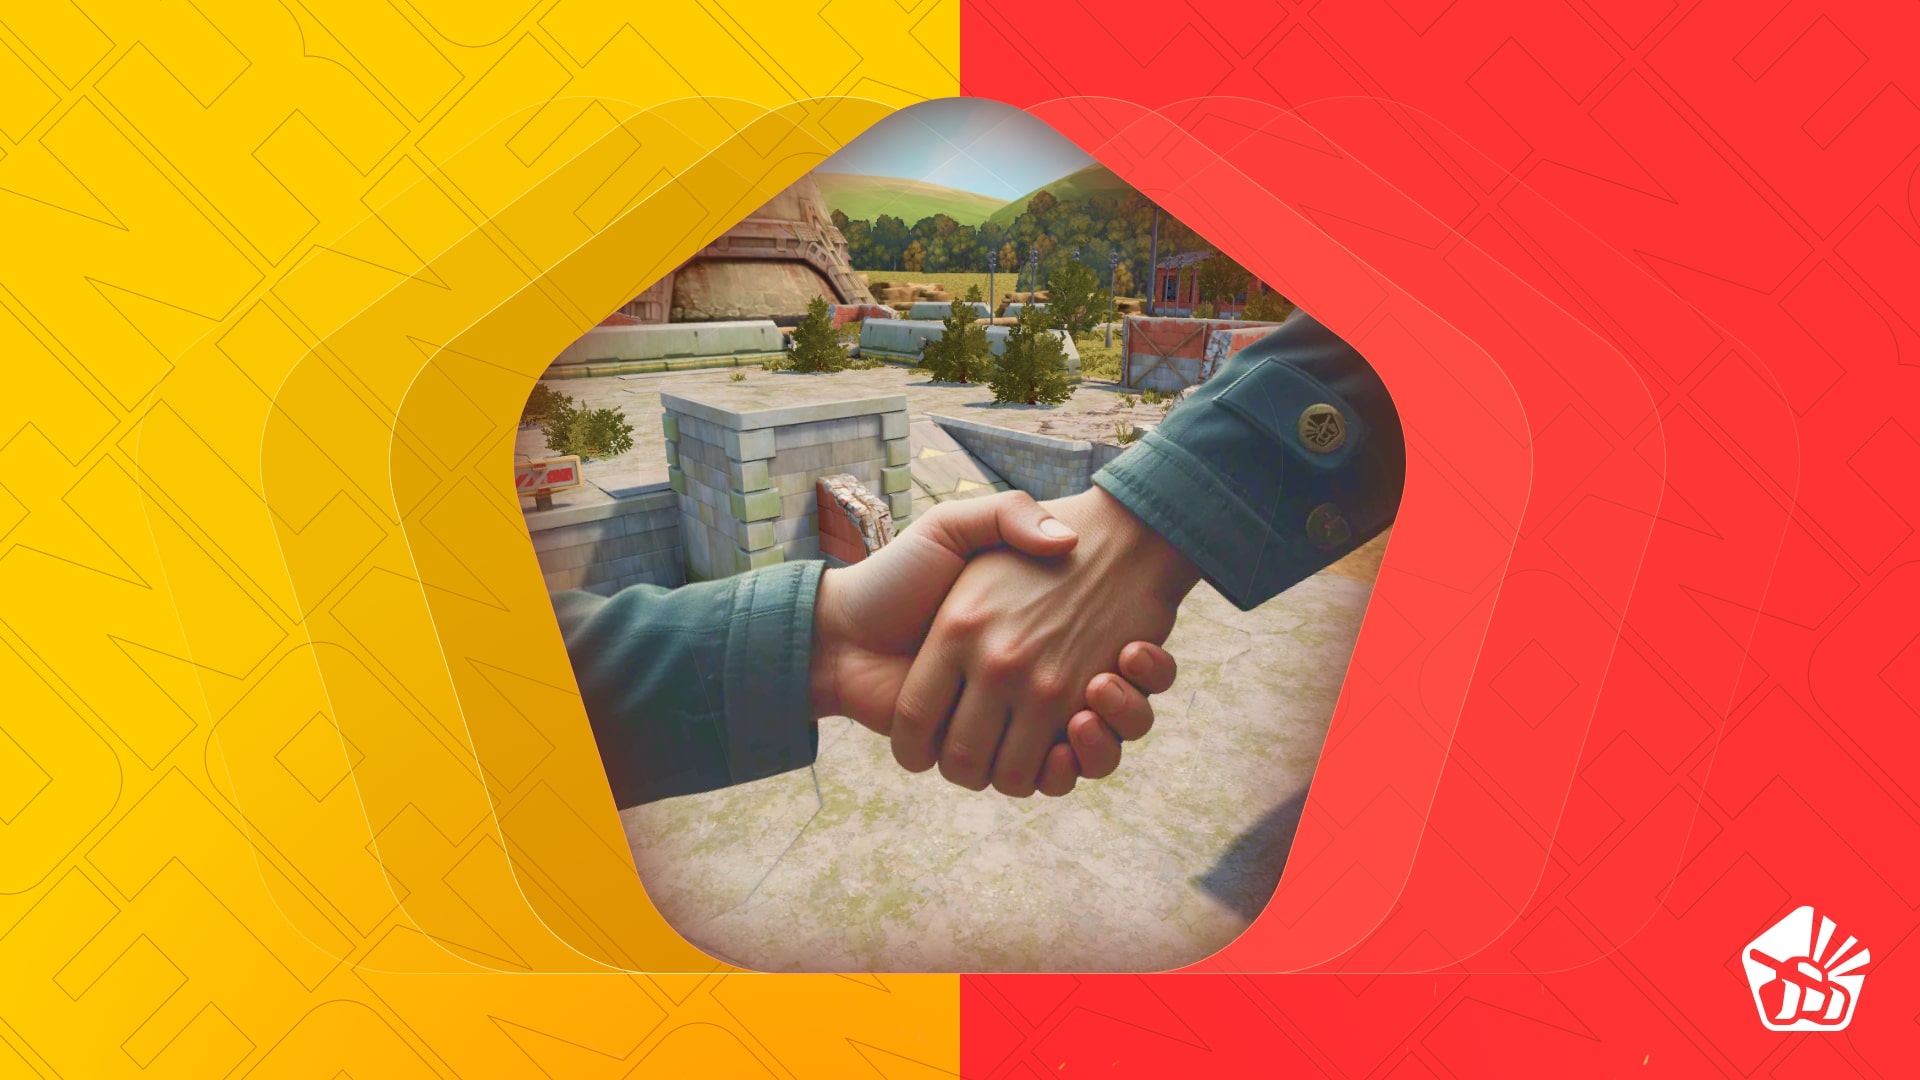
Introduction: Why I Chose Cross: Hello tankers! In this guide, I will be giving you a detailed revision and analysis of the map Cross. The reason I chose Cross is because Cross is one of the few maps in Tanki Online that unlocks at Recruit but is popular all the way to Legend. This means that my guide will be interesting for a wide array of audiences, and not just a small ensemble of ranks. What's more, although many may regard this map as small and basic, this only deepens the need for strategy when playing on it. [media=854x480]https://www.youtube.com/watch?v=ZpQj-L0zNqc&feature=youtu.be[/media] The Geography and History of Cross: Before I start explaining the strategy, techniques, and advantageous spots required to be successful on this map, allow me to give you a short introduction about Cross and its history. Cross first appeared officially as a map on December 18, 2009 and was created by the player eras. Cross can hold a maximum of fourteen players, and is available in all four battle modes (DM, TDM, CTF, and CP). Cross is 27 by 25 meters, making it almost a perfect square, and giving it an area of 675 meters². It can be played in the seasons of Summer and Winter, both during the daytime (not including Space in professional battles). Cross is a perfectly symmetrical map consisting of two levels. The bottom level covers the entire map, and is mostly clear of obstacles on the opposite teams, although obstacles start to appear near the middle. The latter is located under the second level, which is a series of three ramps that intersect perpendicularly with another ramp so as to form a sort of plus sign, hence the name Cross. ⬆ Map of Cross Strategies and Techniques: Now, for the moment you’ve all been waiting for! In the following subsections, I will teach you helpful techniques that will allow you to flourish in Cross. CTF Mode: In team battles, there are two main roles: defence and offence. Both are just as important as the other. If there is no defense, the enemies can take your flag at will. On the other hand, your team will never score without offence, and the best case scenario is that both teams will tie zero to zero. In Cross, specific tactics can be used to make both your defence and your offence thrive. Let’s begin with defence. If you look at the images below, you will see the different posts that I recommend to defend your flag. First of all, you need a post where you can defend against all enemies that take the main route that passes on the ramps. Equip vulcan with mammoth and put yourself right next to the only repair kit on the map, which is where all the ramps meet. If you assume this position, it would be key to have two isidas with viking right behind the vulcan, so as to support it and themselves. The enemies cannot take down your isidas easily, as the isidas have strong hulls and can heal each other. If an enemy somehow does kill one of your isidas, you will still have the other for support while you wait for the respawned one to return to its post. The vulcan will have a three hundred and sixty degree view of the map, and so will be able to take out almost all the enemies. For safety, also add mines to the four ramps that all meet in this one place. You could potentially replace vulcan with other turrets, such as striker and magnum, but vulcan is probably the best choice due to its unlimited ammunition (the isidas save it from burnout) and the fact that it doesn’t have splash damage. I definitely do not recommend any other turrets, such as railgun and smoky, as they can only hit one enemy at a time, and either have a low reload time or don’t deal enough damage to enough enemies at once. Don’t forget that the isidas can deal damage too, especially after the latest update on turrets and hulls. If this tactic does not work due to an overload of enemies storming your base at once, you could always move the vulcan and the isidas closer to your flag, although this would give you new disadvantages that you did not face before (for example, you would be more prone to being sniped by enemies that dominate the ramp because you deserted it). ⬆ Vulcan with two isidas For the next defensive position, you want eyes constantly watching your flag. What’s better than a shaft? The shaft will be able to take out any “druggers” and escapees that fled from the vulcan. Camp behind the small obstacle in the back corner of your team’s side, opposite from your flag. Aim the shaft’s scope on the wall it is camping behind, while still watching your flag. This way, the enemies won’t see your laser and will fall right into your trap. Railgun and magnum would be effective in this case too. Striker would have been perfect for the job, but its scope will not have the time to send multiple missiles at the enemies in the small window that they take the flag and leave. In case enemies come to attack you while you are vulnerable, it is prudent to place mines in the two gaps between the wall and the stone of the map border. ⬆ Shaft Last of all, I recommend you have a vigil directly next to the flag. Here, I would put either firebird or freeze. Firebird would burn the enemies even after they outran it, making it effective. However, this would mean that enemies might not die until they have carried your flag far enough for another to take it. On the other hand, freeze slows down enemies, giving it more time to deal damage to them and more time for the shaft to shoot more than once. The freeze or firebird should hide behind the tower right next to the base, and place mines near the exits like the shaft did. This is in case frustrated enemies come to kill the you. You should plant one more mine in the entrance of the small pathway between the ramp and the stone border of the map, which is where most enemies will come through. The mine will deal lots of damage, and then your freeze and your shaft will be able to take out what’s left of your enemy’s health. Another place you could place the freeze is behind the house right next to your flag. However, this may be inconvenient to you as enemies can easily hit you from behind. ⬆ Freeze I realize that in the lower ranks, where you can not use the chat, you will be unable to organize your team in any fashion. This may also happen simply because your teammates don’t speak your language, or they don’t wish to be told what to do (which happens quite often!). In that case, I suggest you choose the post I mentioned above that fits your fighting style the most. This will help your team more than you think. Now, for offence! Defence used up five of the seven enemies you can have on a team in Cross. This leaves you with two who can try to capture the enemy flag. Here, I recommend wasp and hornet if you want top speed, and viking or hunter if you want armor. It is not my place to choose your hull for you, but personally I prefer armor (I will explain the reason for this later). If you want to get close to the flag, snipe all the enemies, and then steal the flag at the opportune moment, you should use a medium range to long range turret such as railgun or thunder. However, if you want to rush in, grab the flag, and leave, I recommend firebird. Unlike in defense, where freeze is most advantageous, your offense will be more successful with firebird. If you use freeze, you will barely touch the enemy as you rush out of their base. Not only that, but it will also slow you down just as much as them. Firebird will burn them immediately, and if double damage is equipped, they will die within seconds. Still, if you are set on using freeze, there is a way that could be more efficient. If your two offensive players work together, you could use freeze, and one of your players would have either railgun or thunder, and escape with the flag while your freeze stalls any pursuing enemies. In fact, while we are still broaching the subject, another good way for the two offensive players to work together would be if one player used viking and railgun, while the other used isida and a medium hull such as viking. This last option is probably the best of all, although for it to function you would need to convince another teammate to give up on glory and be your healer. Now, let me show you two routes you can use to get to and escape the flag. I call the first route the “Fast Route” (green route), as it is the fastest way to get the enemy flag to your side of the base. This is the route for low-ranked players or, in the higher ranks, fast players who “drug” on supplies. However, what I have noticed in most Cross battles is that almost everybody uses this strategy, and so by now all enemies know to guard that one location. In most cases, this route is less safe than the other route I will show you, as enemies often bombard you from the ramps once you reach your base. If you use my defensive strategy, you should actually be able to escape the latter safely, as the vulcan and the two isidas will be dominating the ramps. Still, this does not solve the first problem - the fact that enemies anticipate your move and guard the small passageway you plan to escape through. This is why I recommend this strategy for lower-ranked tankers and “druggers” who use a combination of speed, double armor, double damage, and repair kits. In this route, you would want to use a fast hull such as wasp. I call the second route the “Stealth Route” (yellow line), as you pass under the ramps and zigzag around the map. In simple terms, you take the enemy flag and immediately duck under the ramps, seeking cover from the enemy base by going behind obstacles, and then eventually reaching your flag. Though longer, this route will shake off enemies and make you unnoticed by any others. In the image, this path seems more direct, but that is excluding all the obstacles you would need to pass around. In conclusion, the “Fast Route” is in fact safer than the “Stealth Route”, but only if your team is organized into my defensive strategy. If your team refuses to use this strategy, however, I recommend the “Stealth Route.” There is one more thing I must speak of before I finish my section about CTF mode. What happens if somehow your defence fails and the enemies take hold of your flag? There is one easy way to solve this problem. As George Washington once said, “Offensive operations, often times, are the surest, if not the only means of defence.” What I mean by this is that if the enemy takes your flag, take their flag before they can capture yours. This brings you to an impasse. As soon as you have the enemy flag, give it to the strongest player on your team, and make sure that they are aided by an isida. Next, head to the enemy base and seek out the player with your flag. Do not rest until you have destroyed them and taken back your flag, even if it means dying a hundred times. CP Mode: Though CP and CTF share many common similarities, they share one, large difference - while you gain points in CTF by capturing the enemy’s flag more than once, you gain points in CP by capturing control points and keeping them under the domination of your team. Therefore, unlike CTF, CP does not have offence and defence. It only has an offence, which then transforms into defence once you have captured all the points. This means you will need turret and hull combinations that can be used in both defence and offence. Cross is unusual in the sense that its three points are all located in the middle of the map, each on a separate ramp. This makes the match equally fair for both teams. After testing every possible turret and hull combination in CP, I came to the conclusion that to be successful in CP mode four different components are required. First of all, you need the main attackers. These will be tanks with heavy hulls and powerful turrets that will cause most of the destruction. You will require three of these tanks in total, each guarding one of the control points. I recommend vulcan and mammoth for the two points on either side, as they will deal incredibly fast damage. As for the middle point, I recommend you keep the hull mammoth, but change your turret to thunder. I think this would be better than having three vulcans because, firstly, thunder pairs beautifully with vulcan, and secondly, it has area damage. The latter will allow thunder to help the vulcans at their weakest points. These three heavy tanks should each plant one mine on the ramp in front of them, which is the main ramp that enemies will come from, and also a mine on the ramp behind them. This is just a simple precaution to stop enemies that come from behind you. There is another position that will help with this, which I will speak of later. ⬆ Thunder with two vulcans The second component required in my strategy is that of the healers. I recommend pairing isida with a medium hull such as viking, as it needs sufficient health but still enough speed to move where it is most needed before it is too late. You will need a total of two healers, each on one side the horizontal ramp that connects all the control points. These isidas are to be used strictly for healing, as they have many teammates to attend to. ⬆ Two isidas Now that you have both the heavy defenders and the healers, you need a backup defender. In my opinion, magnum is the sole turret for this role, as it sends a projectile with area damage that arcs over the ramps and lands in the enemy base. This allows the player in this position to bombard the enemy team while still staying behind cover. I counsel you to use a medium to light hull with the magnum, as the magnum cannot rotate horizontally and you may need to aim to the right or to the left more quickly than you could with a heavy hull. An interesting choice would be dictator, as it has enough speed for you to rotate but also has a reasonable amount of health from other turrets and an elevated point from which to shoot. Use the magnum to destroy enemies where the rest of your team is failing, or, if this is not occurring, use the magnum to send missiles in the enemy base. This will give your fellow tankers even less enemies to take down. ⬆ Magnum Last of all, it would be wise for someone on your team to act as a sniper that protects the rest of the team from smart enemies that try to attack from the ramps on your side. You could use either shaft, railgun, or striker, although with striker you run the risk of not having enough time to send multiple missiles at an enemy if they move fast with a speed boost. Shaft is a good option, as it deals the most damage, but, unlike railgun, it cannot watch all three ramps at once. This is why railgun probably surpasses the other options in this situation. Depending on where you place your sniper, I would recommend either a medium hull or a light hull. There are two sniping locations you could use, both in either corner of your base. One is the cement wall in the left-hand corner. Here, you could use a medium hull, as the wall provides enough cover for you to move comfortably and not be shot by any enemies. The other spot is behind the red tower right next to where your flag would be in CTF mode. Here, you would need a small hull, as the tower’s hexagonal shape gives you meager cover. Overall, I would choose the first option, for a number of reasons that I am about to put forth. First of all, it is always better for a sniper to have a heavy to medium-sized hull (except for magnum), and the tower does not yield enough shelter for this to be executed successfully. The other reason I prefer the cement wall is because it is farther away from the stone border of the map, hence making you less susceptible to splash damage from enemy turrets. Make sure you remember to plant mines exactly where enemies would go if they were trying to get to you and demolish you. ⬆ Two possible sniper locations TDM Mode: TDM mode is interesting in that although it is a team battle, it does not involve the need to acquire or take control of any object. All that is important in TDM mode is destroying as many enemies as you can. To win, your team needs to have to have taken more lives than it has lost. This means you require a full-on offensive strategy that keeps you alive and allows you to deal as much carnage as possible. I have divided Cross into four parts to make this game mode more clear for you. These four parts are: your side, the enemy side, the ramps, and below the ramps. You will have different turret and hull combinations in each part. Firstly, you need direct offence right in the core of the enemy base. Here, I recommend the most armored hulls in the game - mammoth and titan. There is a wide array of turrets with which you can combine these hulls. I recommend twins, ricochet, thunder, hammer, and smoky. Twins or smoky are probably the best choices, due to their reload rates and quick damage. The role of these two players is to destroy as many enemies as possible, as soon as they spawn. If you use turrets such as smoky or thunder, a good place to camp would be the cement wall. If you use turrets such as twins or ricochet, it is a good idea to peek from behind the houses or from under the ramp. Whichever turret you chose, it needs to work with the other turret. For example, due to a recent update, twins deals damage to itself when shooting at targets that are too close by. This means if you use twins your other turret will need to support it when it gets at close quarters with other enemies. Likewise, the twins would have to support your other player when it is in a dire situation. I also counsel you to have a healer available, as even the most robust tanks will eventually lose all their health. This isida could be paired with a medium hull such as viking. I am well aware that this is a risky move, as the isida will be the target of all enemies. However, you will see later in my strategy that this problem is easily solved. If there is an isida, you should not use the camping locations I mentioned above, as it will be harder for the isida to reach you, and the isida needs to stay in a specific position (see image below). ⬆ Armored offence aided by an isida Next, you will want support for your heavily-armored offenders. These should be long-ranged turrets with medium to heavy hulls. For hulls, I recommend dictator, viking, titan, and mammoth. For turrets, I recommend striker, magnum, shaft, and possibly railgun if it used by a skilled player. Personally, I think striker and dictator are the best way to go. The striker will be able to help its fellow teammates by shooting single missiles at weak enemies that have light hulls, and shooting multiple missiles at tough assailing enemies with heavier armor. The dictator will give the striker a higher vantage point, thus allowing it to shoot more flexibly. When using striker, make sure that when you scope enemies, you pick out the ones that are harder to take down. Doing this will make every one of your missiles count, whereas shooting weak enemies will only use a few of your missiles; the rest will be wasted and will keep hitting the dead enemy’s carcass. However, if you see an enemy that is a predominant threat to your team (such as a stealthy freeze sneaking up behind one of your main offence players), by all means, set your sights on that enemy and take it down first. If there are no large or particularly dangerous enemies present, aim for a mob of enemies. This will not only hit the specific enemy you aimed at but will also deal area damage to the rest of the mob. If an enemy ducks behind a wall just as you shoot them, move your turret slightly to the side. This will make the missiles’ trajectory curve before finding their target, thereby giving you a higher chance of reaching the hiding enemy. Plant one mine next to each striker, one in front of them, and one on the ramp that leads to your own base. Lastly, you need an isida here as well. The purpose of this isida will be to heal the strikers from sniping enemies as well as heal the other isida, hence solving the previous issue. ⬆ Two strikers aided by an isida The last factor required in my TDM mode strategy is that of the sniper. However, unlike the other modes thus far, where the snipers are located behind walls or towers, this sniper is behind the middle ramp. This way, the sniper can defend its teammates from enemies that come from behind, and it can also shoot enemies under the ramps that are on their way. This quickens the death toll and helps your team advance more quickly. For this task, I recommend railgun. Striker does not have the time to send multiple missiles at enemies (as they can hide in many places under the ramps), shaft can only see one place at a time, and magnum reloads too slowly. What’s more, railgun makes a very unique sound that is quite easy to distinguish over the sounds that the other turrets make. Every time the railgun shoots, your teammates will hear it and will be alerted of nearby enemies. In the image below, I did not specify where you should put mines, as there are so many possible places where they can be. However, if I were to choose three locations, I would choose the three ramps. ⬆ Railgun backing up team DM Mode: Last but most definitely not least, here is the strategy for DM mode. DM mode is unlike all the other modes in that it is played solo - without a team. This makes DM much more heated and intense than most battles, as well as harder to play in. Before I start giving you specific strategies, there is an acronym I would like to share you. I call it SMASH, and it stands for Slayer, Miner, Ambusher, Scavenger, and Hider. In my opinion, these are the five different types of DM players. Slayers are often players with heavy tanks and high-damaging turrets, and they are almost always “druggers”. If you enjoy “drugging” in your playing style, then I recommend this position. It is best to use a medium to heavy hull such as viking or mammoth, and either striker, twins, or vulcan as a turret. Personally, I think the best combination is either viking and striker or vulcan and mammoth. This will make you very powerful, especially with “drugs” and overdrive. However, invincible as you may consider yourself, you will eventually die, so I recommend you be careful. If you see enemies with short-ranged turrets such as freeze coming close to you, take them out immediately. However, if they are still far away, try to destroy long-ranged turrets that are assailing you. I recommend placing yourself in a wide and exposed environment, which will allow you to move and destroy with more ease. The most spacious areas in the game are either on the ramps or on either side of the ramps. As for mines, it is best to place them where the most short-ranged enemies will come to attack you. The slayer position is all about destroying enemies that come at you, not disturbing enemies that leave you alone. In spite of this, slayers often get the most kills, firstly because they “drug” on supplies, and secondly because they are the center of attention. ⬆ Where to be if you are a slayer Next in my acronym are the miners. Miners, as the name suggests, are players whose main way of destroying enemies is through mine use. In normal mode, this is incredibly uncommon, as it takes players a long time to reload their mines, and they do not care to waste them. However, in pro battles, one can switch on the setting of “smart supplies”, which allows you to burn supplies much more quickly. This is where a miner would play. Miners are not necessarily playing in DM mode to make kills. In fact, they usually go to play in “Save the Gold” events. These are matches where players have to attempt to take gold boxes from other players who drop them and then surround them with mines. Still, there are occasionally miners who simply want to accumulate kills. The best strategy for these kinds of players is to find an efficient camping location, surround it with mines, and then start shooting at enemies. This can actually be a very efficient way of gaining experience if you know where to plant your mines. Cross has some very effective mining locations, making it perfect for this type of combat. One of these such locations is behind the cement block that has already been mentioned several times in this guide. Here you can equip a heavy hull such as mammoth (your mine will be stronger if you plant it using a hull with more armor) and heavy damaging turret such as vulcan. This location will allow you to attack enemies normally but be invulnerable to short ranged attacks. Another good location is on top of the ramps, near the repair kit. This location will allow you to attack the most enemies and collect the most kills. However, this is only for players who don’t mind using a lot of supplies to stay alive. Because the ramps are the center of attention, all hostile eyes will be on you, and you will need to protect yourself with much more than just mines. I recommend either titan or mammoth (whichever one is the strongest at your rank) and striker, as it is a perfect balance between fast reload and high damage. ⬆ Where to be if you are a miner After the slayers and the miners are the ambushers. Ambushers are players with short-ranged turrets that are usually paired with light to medium hulls, and, as the name suggests, they wait for enemies to pass by before jumping out at them and destroying them. The entire point of an ambusher is the element of surprise. Without this, you will suffer from more deaths than kills. The map Cross has several good hideouts for ambushers under its ramps. Two in particular are very efficient. The first is right beside the square pillar in which all the ramps meet. Here, I recommend either freeze or firebird with wasp or hornet. You can plant mines in both entrances closest to you and lie in wait for any imprudent enemies. It is good to use a light hull so that as you shoot you can easily turn around the enemies. This will abstain them from shooting at you. The second effective ambusher post is right beside one of the houses. Here, you have the chance to attack enemies that are passing under the ramps and getting on the ramp next to you. Here, plant mines in the two passageways closest to you and also on the ramp. Overall, I recommend the turret freeze with the hull wasp. This will slow your enemies and give you more time to reduce them to scrap metal. You could potentially use firebird as well, as its burning effect can be effective in the second location. ⬆ Where to be if you are an ambusher One of the most effective means of combat in DM mode is stealing kills, or, as I call it, scavenging. Scavengers are players who do not take part in the mainstream of the battle, but rather watch from the outside, waiting for the opportune moment to shoot a weakened enemy and reduce his or her health to zero. For this type of attacker, I recommend a light to medium hull such as wasp or viking, and a turret that is well balanced between quick reload speed and moderate damage. Personally, I think thunder is the best choice. Thunder deals enough damage to take out a good portion of enemies’ health, while still reloading fast enough to quickly pass on to a new target. You could almost go anywhere if you were a scavenger, but some places in Cross may be slightly more advantageous to your cause. One is between one of the side ramps and the stone border of the map. This is a very good place to be as it gives you a complete view of one of the sides of Cross, and due to the fact that the ramp is diagonal, you have much more cover. This makes you less attainable by enemies with medium to long-ranged turrets. Another good place is on top of the central ramp. Here, you have an even clearer view of the side, and you can shoot enemies very easily. The only danger is you are very vulnerable out in the open. In both locations, plant mines where the most enemies would go to reach you. ⬆ Where to be if you are a scavenger The last kind of attacker found in DM mode is the hider. The hider, also known as the sniper and the “camper”, is the player who hides behind obstacles and uses a high-damaged turret to pick off his or her enemies one by one. For this role, I recommend either shaft, striker, or possibly magnum, depending on where you decide to go. What hull you use also depends on this, although in general heavy hulls such as titan are quite effective. One of the most popular sniper locations in Cross is behind the water tower. In DM mode, it is actually better than the cement block, as you can see around it more easily and so destroy more enemies. This is good with a small-sized medium hull, preferably hunter. This way, it is harder to shoot you due to your tank’s small size. Always destroy the enemy that poses the biggest threat to you, be it a short-range turret that is quickly advancing or a rival hider that is targeting you. Another good location, surprisingly enough, is under the central ramp. This is a very uncommon place for hiders, but it is in fact very effective. From here, you can easily snipe enemies right under their stupefied nose. However, the only danger is that you will be discovered by a short-range turret, so make sure you plant mines! ⬆ Where to be if you are a hider Parkour: These days, parkour is one of the most popular things to do in Tanki Online. To be honest, Cross is not a favourite of most parkourists, but it can be a very fun place to do parkour if one knows what to do. On the map itself, the main parkour locations are on the four houses (see image). You can get on these very easily by planting a mine on the tip of the main ramp, getting on a friend, and having your friend go off your mine. This will propulse you onto the house if you do it correctly. I did this without space mode, as I consider space mode as cheating. However, you can do it however you wish. There is also a part of Cross that is not technically on the map. If you go off one of the side ramps (you can easily do this without assistance if you are in space mode or if you have a fast hull), you can land on the border of Cross. This border is covered in fun parkour locations, from more houses to broken water towers. ⬆ Parkour on one of the houses in Cross (not space mode) Gold Boxes: If everyone enjoys catching gold boxes in Tanki Online, then this guide is obviously not complete without a small word about how to catch them in Cross! Cross has fourteen gold box drop zones, which is surprising for a map of its size. The locations include: right before the beginning or ramps, on the ramps themselves, and behind houses. There are three different courses you can take to catch these gold boxes. Firstly, there is the course in which you use a fast hull and jump off the ramps to gain elevation above enemy tanks. You can also do this by rocking yourself back while shooting, which allows you to pull yourself onto an enemy tank. This is effective for gold box zones located on and next to the ramps. Next, you can throw yourself off the ramps, hence catching the gold in midair while everyone below you gawks in surprise. This is effective for drop zones behind the houses and possibly next to the ramps. Lastly, you can equip the heaviest hull in your garage, and head for the drop zone. If you use overdrive and repair kits, you will be invincible, although you must watch out for players that use the previous strategies that I mentioned. This is why I recommend this last strategy for locations in which it is impossible for other players to jump or get above you. ⬆ Catching a gold box behind one of the houses in Cross Additional Notes: In team battles, if you see an isida behind an enemy tank, aim only for the isida, even if the other tank is about to kill you. If you shoot the enemy tank instead, you will deal no damage to the isida, and as soon as you die it will heal the tank that you hit. No trolling! It’s surprising how well a team could do if half its players weren’t flipping each other over to take the flag for themselves. If you use turrets with splash damage, make sure you don’t shoot walls or enemies too close to yourself. If an enemy tries to make you self-destruct by getting close to you, shoot the wall or even the ground closest to them. This way, they will suffer from the splash damage instead of you. In CTF, never provoke a battle with an enemy if they don’t see you. This way, you will not waste any health or ammunition on them, and you will have a higher chance of taking the flag successfully. Even if you did somehow kill an enemy without losing a drop of health, they would know you were coming for their flag and might alert their entire team. In any battle, if you see an enemy spawning and are afraid that they may follow you and cause you some difficulty, you can always go through them and leave a mine where they are about to take form. The strategies that I have shown to you in this guide often include mines; this is no coincidence. Oftentimes, the mines are very important, and the strategy may malfunction if you do not place mines where I tell you to. When playing in space mode, you must tread carefully. If you wish to use a turret with no recoil, like isida or firebird, I recommend a medium hull such as hunter. However, if you prefer turrets with high recoil, such as railgun and hammer, it would be better to use a heavy hull such as titan. Paints can contribute more to your strategy than you think. In winter, the best paint to use is the white paint, as it helps you camouflage. In summer and space mode, it is harder to be camouflaged, but sometimes hiding in plain sight can be even better! When using paints such as cedar, you will look as if your tank has already been destroyed, and enemies will stare at you dully and move on without attacking you. I am aware that I have already said this previously, but I am reminding you one last time. If your team cannot or refuses to comply with these strategies, then simply choose which post suits you best and follow my instructions for that specific post. I promise that doing this often goes as far as changing the whole tide of the battle. Conclusion: Many players underestimate Cross for its simplicity and its symmetrical design, but Cross is in fact a dynamic and lively map that leaves even the highest-ranked professionals bewildered. When playing against weak players, it is easy to emerge victorious on this map. However, when you face players that are at your level or even stronger than you, the small size and openness of this map calls for drastic strategies, for without them, you will die more times than you destroy others. Thank you so much for reading my guide, and I hope that it has enlightened you further on how to play in Cross! Good luck out there, and may all your enemies cower before you! Special thanks to: 4RCH4NG3L salarkhan Alpha_HQ
-
Is it acceptable if I state my opinion (i.e. In my opinion, it is best to use...)?
-
This is cool mate! Nice pics! At least all our hard work was worth it :D
-
Wow I am writing a Wikimania article and I wish it was this good!
-
Weekend Giveaway with hot prizes and 1.5X Funds!
Gamble replied to theFiringHand in Contests Archive
Do we just need to reach that many kills and you will know that we did it? Do we have to write down how many kills there are or sign up in something??? -
Hello, My artcile is very long (13 docs pages so far) but I am trying to be as thorough as possible. Will I be disqualified for this length? Thank you, AIexander_Crete
