


Message added by kaisdf
Hello readers! Just in time for CC XII, Hexed is here with a guide to a couple of very nifty XP/BP shots to help you in your future eSports career!
 Jump to content


The event will take place from May 1st, 2 AM UTC, to May 29th, 2 AM UTC.
In honor of the holidays, we are changing the look of the Gold Box.
For the entire duration of the event, instead of Gold Boxes, bright red stars will drop from the sky!
Make screenshots and share them in the comments on the forum and social media.
A true starfall – it will be beautiful!

Take advantage of the beneficial discounts from May 1st to May 4th.
For 3 whole days, you will be able to obtain the following items with a 30% discount:

This time, four festive modes await you in the game!
Burn everyone and capture the points to win! While you move between points, capture gold boxes!
Destroy opponents with Hammer shells and catch dozens of gold boxes!
The main task is to destroy all the opponents, capture points, and keep controlling them to finish a battle as soon as possible.
«Dragon’s gold» — one of the players is equipped with the «Juggernaut» super tank
Don’t miss out on these great special offers!
May 1st — May 25th
May 1st — May 29th:


May 8th — May 29th:
May 15th — May 29th:
May 22nd — May 29th:
Challenge yourself in a series of missions and claim valuable rewards!
Part 1. May 1st — May 8th
Part 2. May 8th — May 15th
Part 3. May 15th — May 22nd
Part 3. May 22nd — May 29th
Finish 2 battles in the festive mode.

Finish 2 battles in the festive mode.
Finish 2 battles in the festive mode.
Finish 2 battles in the festive mode.
Set 1. May 1st — May 29th
Complete «Welcome! Part 1», «Veteran of Labor. Part 1», «No Second Thought. Part 1», «It’s Not About Winning… Part 1», «Best of the Best. Part 1», «Industrial Commerce. Part 1», «Repair Workshop. Part 1», «Preemptive Play», «Length of Service. Part 1» and «Unpacking» missions.

Enter the game at least once.

Earn 5000 reputation points in matchmaking battles.
Earn 3000 reputation points in Quick Battle mode in matchmaking battles.
Finish 10 battles in matchmaking battles.
Be in the winning team of 2 battles in matchmaking battles.
Make any purchase in the game’s Shop.
Use repair kit 150 times in matchmaking battles.
Destroy 1 tank using grenades in matchmaking battles.
Earn 3000 experience points in matchmaking battles.
Open 15 any Containers.
Set 2. May 8th — May 29th
Complete «Welcome! Part 2», «Veteran of Labor. Part 2», «No Second Thought. Part 2», «It’s Not About Winning… Part 2», «Best of the Best. Part 2», «Industrial Commerce. Part 2», «Party Card», «Length of Service. Part 2», «With Full Strength» and «Daily Norm» missions.
Enter the game at least once.
Earn 5000 reputation points in matchmaking battles.
Earn 3000 reputation points in Quick Battle mode in matchmaking battles.
Finish 10 battles in matchmaking battles.
Be in the winning team of 2 battles in matchmaking battles.
Make any purchase in the game’s Shop.
Use boosted armor 150 times in matchmaking battles.
Earn 3000 experience points in matchmaking battles.
Use overdrive 10 times in matchmaking battles.
Complete 15 Daily missions.
Set 3. May 15th — May 29th
Complete «Welcome! Part 3», «Veteran of Labor. Part 3», «No Second Thought. Part 3», «It’s Not About Winning… Part 3», «Best of the Best. Part 3», «Industrial Commerce. Part 3», «Armor Piercing», «Meteor Shower», «Execution» and «Plans for Week» missions.
Enter the game at least once.
Earn 5000 reputation points in matchmaking battles.
Earn 3000 reputation points in Quick Battle mode in matchmaking battles.
Finish 10 battles in matchmaking battles.
Be in the winning team of 2 battles in matchmaking battles.
Make any purchase in the game’s Shop.
Use boosted damage 150 times in matchmaking battles.
Earn 45 stars in matchmaking battles.
Destroy 30 tanks in matchmaking battles.
Complete 3 Weekly missions.
Set 4. May 22nd — May 29th
Complete «Welcome! Part 4», «Veteran of Labor. Part 4», «No Second Thought. Part 4», «It’s Not About Winning… Part 4», «Best of the Best. Part 4», «Industrial Commerce. Part 4», «Repair Workshop. Part 2», «Grandma’s Crystal Glass», «Scout’s Heroic Deed» and «Shot Put» missions.
Enter the game at least once.
Earn 5000 reputation points in matchmaking battles.
Earn 3000 reputation points in Quick Battle mode in matchmaking battles.
Finish 10 battles in matchmaking battles.
Be in the winning team of 2 battles in matchmaking battles.
Make any purchase in the game’s Shop.
Use repair kit 150 times in matchmaking battles.
Earn 4000 crystals in matchmaking battles.
Destroy 10 tanks using critical damage in matchmaking battles.
Use any grenade 10 times in matchmaking battles.
We are launching the festive advent calendar for you!
After purchasing the “Advent Calendar” special offer, you will get access to:
All you need to do is log into the game during the event and claim your gifts.
Task: Complete all “One More Day” missions that appear after May 1st.
Completing 5 standard missions will unlock the final Supermission.

The most luxurious pass is here! It consists of 20 levels.
Your goal is to earn stars and unlock new levels, and for each level reached, you will receive additional prizes!
In order to complete the whole pass and reach the main prize, you will need to earn 1000 stars.

All stars earned during the event will be counted. Progress begins with the start of the event. Stars earned before the purchase of the «Elite Pass» will also be counted. The «Elite Pass» itself is required to claim the prizes. By purchasing it, you will be able to claim all the unlocked prizes to your Garage!
The Main Prizes are the “Vacuum Shell” augment for Scorpion and a LEGENDARY KEY!
The price of this “Elite Pass” is 2300 Rubies.
Happy holidays to everybody!
In today’s episode, we will be discussing Authorial PRO battles. We’ll also be sharing our plans for the entirety of May and reminding how the Moderation system works.

Want a private battle just for your group? Now it’s possible.
In Authorial PRO Battles, you can set a password to enter, share it with participants, and maintain full control over who can join the battle.
When joining, players will see a password entry prompt. The password can be updated or removed at any time using chat commands.
You need to turn on the “Private battle” setting when creating a battle. Then, in the battle chat, enter the /setPassword command. The server will automatically create a password, send it as a message in chat and copy it to your clipboard so it can be sent easily to invited players in any convenient way.
Controls for the battle creator include three basic commands:
We plan to add even more features for Authorial PRO Battles in the future, to make them a full-fledged tool for tournaments, training sessions, and events, allowing you to create battles according to your own rules and control the flow of the game at every stage, from participant access to the final result.
For the current functionality and list of commands, please refer to the Wiki.
Dates: From April 24th 2 AM to June 3rd 2 AM UTC
Let’s get into the details:
Referrals are players who you invited to the game.
You need to follow these steps to make a new player your referral:
STEP 1 Your rank should be at least Master Sergeant.

STEP 2 You need to enter the game and go to the Missions menu.

STEP 3 There, you need to open the special «Invite a friend» category of missions.

STEP 4 In that section, you need to generate a special invite promo code.

STEP 5 Share this Promocode with people you want to invite to the game and tell them how they can activate it (read below).
There are two types of players who can become your referrals:
Pay attention to the fact that in order to activate an invite promo code, a player should have at least Private rank.

3. Once they activate your promo code, players who have been invited will also get a set of their own special missions in the «Missions from a friend» category. In your «Invite a friend» category you can track how your referrals complete their missions, and thus your missions get completed and you can claim rewards for the efforts of the players you have referred.
There are two types of missions for inviting players. The first type gives you rewards for players who just activated your promo code. The second type gives you rewards once your invited players complete the required missions.
Invite 1 player to the game.
Invite 2 players to the game.
Invite 3 players to the game.
Invite 4 players to the game.

Invite 5 players to the game.
Invite 6 players to the game.
Invite 7 players to the game.
Invited players completed 10 referral event missions
Invited players completed 20 referral event missions
Invited players completed 30 referral event missions
Invited players completed 40 referral event missions
Invited players completed 50 referral event missions
Invited players completed 60 referral event missions
Invited players completed 80 referral event missions
Invited players completed 1 referral event supermission
Invited players completed 2 referral event supermissions
Invited players completed 3 referral event supermissions
Invited players completed 4 referral event supermissions
Invited players completed 5 referral event supermissions
Invited players completed 6 referral event supermissions
Invited players completed 7 referral event supermissions

Once you invite a friend and give them your promo code, your friend should do the following:
STEP 1 Create an account (or log into an existing one, if it meets the criteria)
STEP 2 Get the «Private» rank. It won’t take much time.

STEP 3 Enter the Shop

STEP 4 Go to the «Promocode» section

STEp 5 Activate the promo code

STEP 6 Press the «Forward to the missions!» button

STEP 7 In the Missions menu, there will be a section called «Missions from the friend» with a set of special missions to complete

STEP 8 Complete the missions and claim the rewards
Supermission. Complete all referral missions.

Complete 30 daily missions.

Complete 15 weekly missions.
Open 15 Common Containers
Open 10 Epic Containers.
Earn 30 000 experience points.
Earn 15 000 reputation points.
Earn 10 000 crystals.
Activate supplies 300 times.
Use overdrive 15 times.
Finish 20 battles.
Be in the winning team of 5 battles.
Get a new rank.
Invite friends and get rewards!

See a player breaking the game rules? You have the ability to report them.
In the Lobby chat: click on the player’s nickname, then select “Report the message” from the menu.
In the Battle chat: press Enter to open the chat, click the red exclamation mark, click on the player’s message, and then click the “Report themessage” button.
If you’re still unsure how to send a report, check out the instructions: https://en.tankiwiki.com/Moderation_System


Gauss RF is not just a turret, but an artifact from a world living in the future. Cold metal, complex mechanisms, and accuracy brought to perfection. Looks like it was made using the blueprints found in the ruins of a different civilization.
Gauss RF skin can be obtained on the 7th final checkpoint of the “Tanks in Space” mini-game.
This skin will be a true embellishment of the collection!
Good luck in the game!

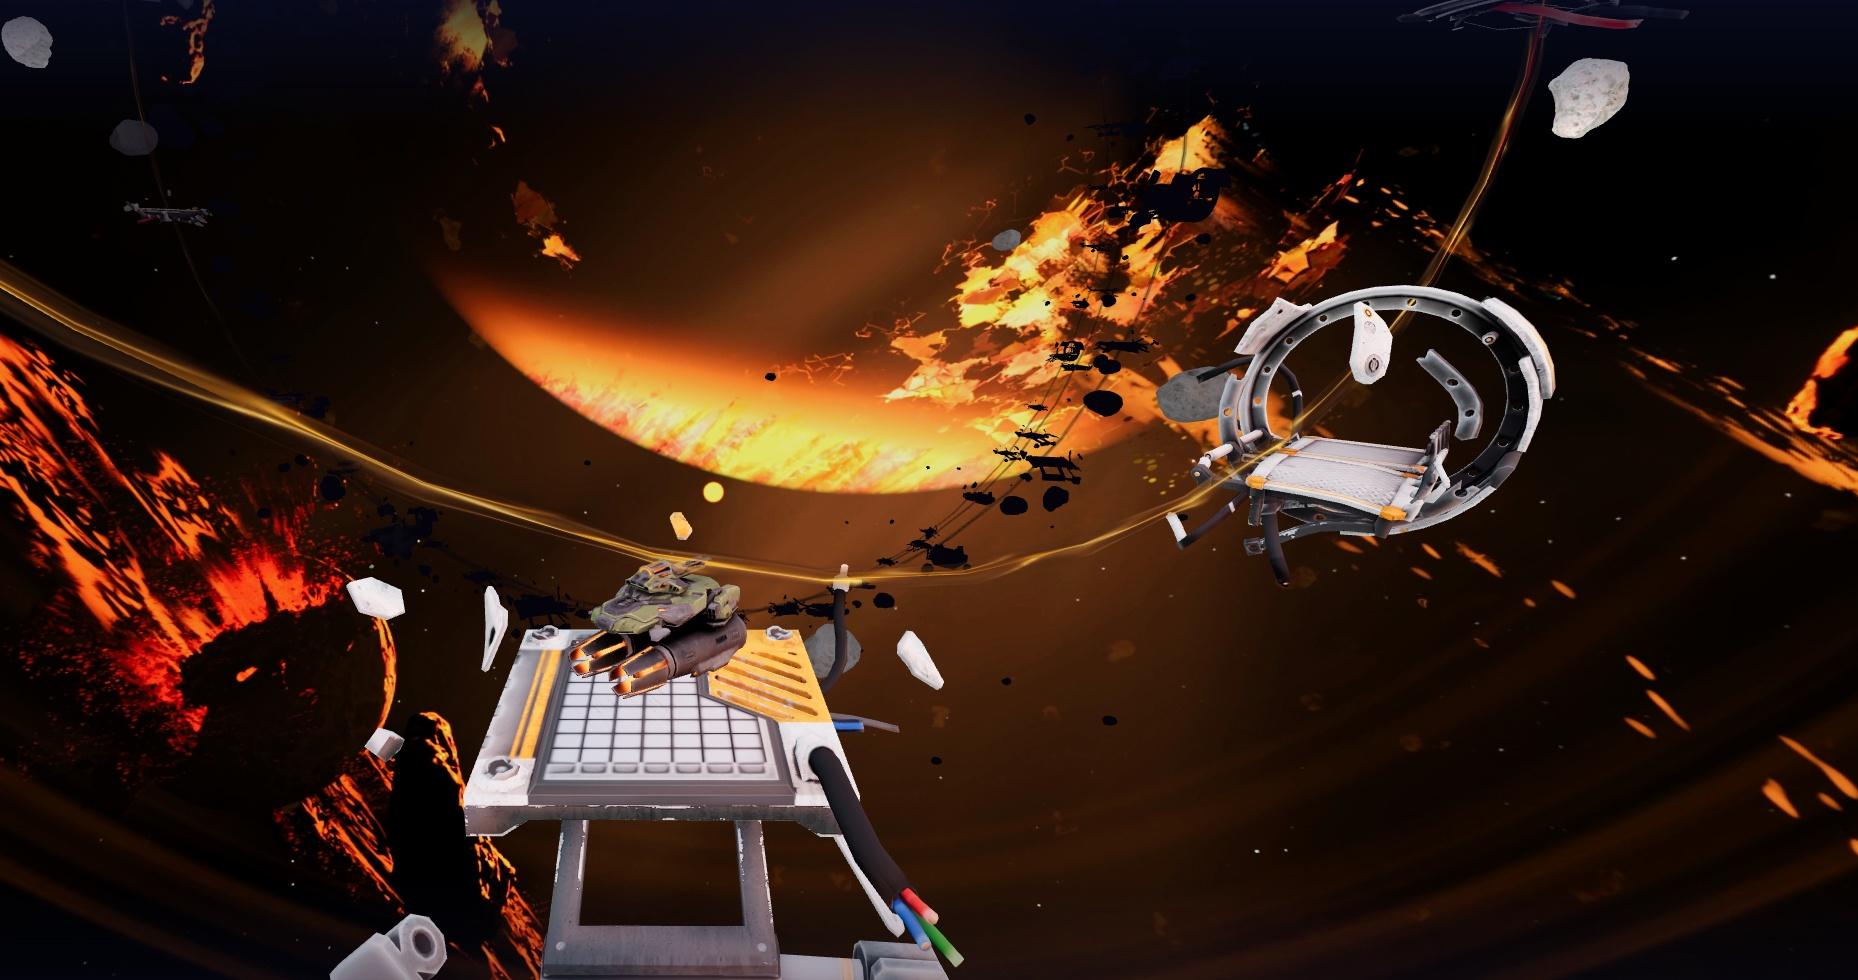
The «Tanks in Space» mini-game that will last for 27 days: from April 17th 2 AM till May 14th 2 AM UTC.
But don’t forget that space is fraught with many dangers, so we need to be extremely careful!
Three… Two… One… Let’s go!
More details about the mini-game event:

Your tank needs energy to travel around space. This is the special currency of the event. You can check your current amount of energy on the event site.’
Here are the ways you can get Energy:
For each move, you need to spend 10 units of Energy.
We have prepared a set of Special missions. Complete them during the event to receive energy!
Destroy 100 tanks using light hulls (Wasp, Hornet, Hopper) in matchmaking battles.
Destroy 100 tanks using medium hulls (Hunter, Viking, Crusader, Paladin, Dictator) in matchmaking battles.
Destroy 100 tanks using heavy hulls (Ares, Titan, Mammoth) in matchmaking battles.
Destroy 100 tanks using melee-range turrets (Firebird, Freeze, Isida, Tesla, Hammer) in matchmaking battles.
Destroy 100 tanks using medium-range turrets (Smoky, Striker, Vulcan, Thunder, Twins, Ricochet) in matchmaking battles.
Destroy tanks using long-range turrets (Shaft, Gauss, Magnum, Railgun, Scorpion) in matchmaking battles.
Looking for more energy? You can get them by completing Contracts.

A Contract is a mission that requires earning reputation points in matchmaking battles.
Contracts can be purchased from April 17th 2 AM till May 13th 2 AM UTC in the Shop for Crystals or Rubies.
After the purchase, open the «Contracts» section in the «Missions» menu and activate the contract.
There are 3 types of contracts in the event:


IMPORTANT information:
After 2 AM UTC on May 13th, all contacts will become unavailable and expired. They will be marked in red color.
Before completing a contract, don’t forget to activate it.
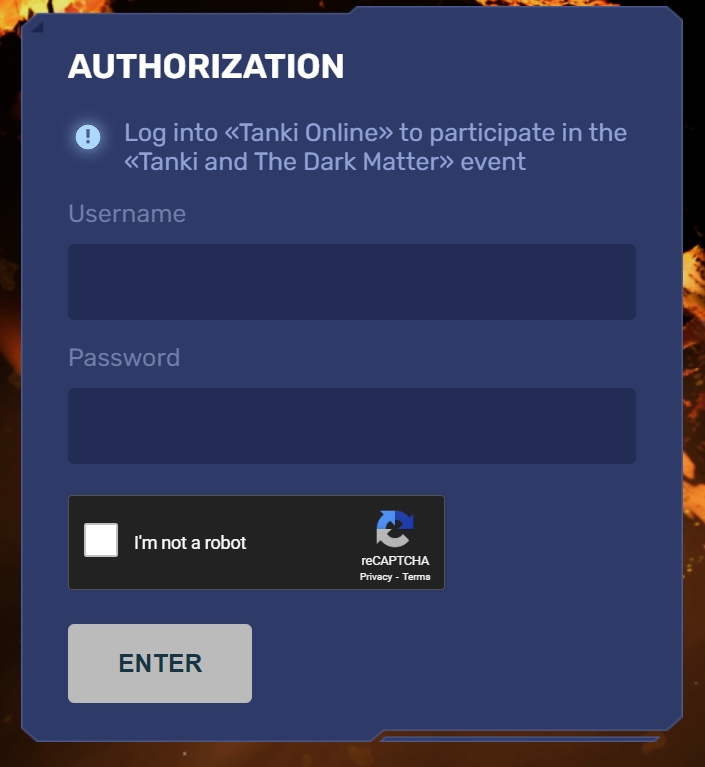
To start playing, you need to log in to the mini-game website, using the nickname and password of your game account.
The mini-game map consists of numerous fragments, each holding a surprise for you.
But as we know, surprises can be good or bad:
Don’t worry — even if luck isn’t on your side and you get pushed back, you’ll be able to earn the reward again for each fragment field you successfully pass on your way forward!
Checkpoints – are stations, on which the collected prizes are added to your Tanki account.
A player starts their journey from the 1st checkpoint. The mini-game ends when you reach the 7th checkpoint.
After passing the whole lap, a player reaches the checkpoint. There is a special vault on it to store all the prizes that the player received on these fragments. When visiting a checkpoint, the player can transfer the prizes from the vault to their in-game account.
Moreover, whenever you visit a checkpoint, we add more unique rewards to your vault.


Transforms the turret from shotgun into a long-range needle gun with limited ammunition and slower clip reload.
A radical change to the turret’s ammunition and Hammer’s way of usage. Shrapnel shot is replaced with an armor-piercing subcaliber needle. Such needles have significantly higher range and accuracy, and their compactness allows an increase in the number of shots per clip and faster shot reload. Unfortunately, just like with the standard version of the turret, the clip can only be reloaded after fully emptying it.
Due to the limited ammunition and long clip reload, it is recommended to fire in short bursts to avoid leaving too many needles in already destroyed enemy tanks.
Reaching a checkpoint guarantees not only receiving the prizes on your account, but also saves the current progress in the mini-game: even «Radioactive fragments» can’t push you behind a passed checkpoint.
Earn energy, roll the dice, travel about fragments, reach checkpoints, and receive cool prizes! Full speed ahead!

The name was chosen for a reason: the turret’s mechanics fully reflect its character.
The first shot is like the first wave, and the second is a powerful automatic finishing strike.
You manually fire from the right barrel, and the second shot triggers automatically after a short delay.
The special offer will be available till May 22nd, 2 AM UTC.
By the time of Tanki’s birthday, the Tsunami will become available in the garage for Crystals and will be accessible to all players.

Who knows, perhaps it will be you and your team that will achieve the highest results.
Who knows, perhaps it will be you and your team that will achieve the highest results.We also want to remind you that in order to simplify the search for players and teams, we have updated our eSports website and added a special section in which teams search for players, and players search for teams.
The tournament will be attended by 32 to 128 teams.
Almost immediately after the third rating tournament, we will announce a Major one. In the Major tournament, they will fight not only for in-game rewards, but also for real cash.
Go to the eSports portal, create your team, read the rules, register and get ready for the next rating tournament! And if you have any questions, visit our eSports Discord server, they will definitely help you.
See you on the battlefields and eSports broadcasts!

You can get onto “Tanki Classic” only through the announcement window in the main game lobby.
You will only have access if you are an early access participant.
The special Early Access offers for “Tanki Classic” were only available for a limited time. With the start of the mass testing phase, we are bringing these special offers back on sale. This is your chance to become a part of the legendary “Tanki Classic” project ahead of everyone else!


This is a test version of the game. It is possible to encounter bugs, issues, unfinished features, and anomalies.
During the test, we will restart the game several times and even temporarily pause the testing process.
We will also wipe the test server database several times, which will reset all your progress.
For testing Tanki Classic, we use new server infrastructure. This may cause unstable server performance during the first weeks of testing. We will be configuring and fixing everything.
No. Early access will be announced separately, 2 weeks before the game is released. You will be able to get access to the game earlier than anybody else and progress your account earlier than others.
Alongside the launch of Tanki Classic testing, we are adding a special “Development Plans” section to the project’s website. From now on, this section will be the primary, first-source of information on the development of the Tanki Classic project.
There, we will announce the key development areas of the project earlier than anywhere else.
Please note: the presented plans reflect our current goals and may be adjusted based on your feedback and voting results.
In the future, we will launch the promised polls for the game mechanics. You, the players, will define the future of “Tanki Classic!”
Feedback can be left on the forum topic of this news.
Hello readers! Just in time for CC XII, Hexed is here with a guide to a couple of very nifty XP/BP shots to help you in your future eSports career!
Recommended Posts